Remember the awesome hip & butt enhancing undergarment that I bought two years ago from Classic Curves International? Well, if you know me personally, you know that I never leave my home without my Veronica 5. As I now tell everybody, ‘if it was good enough for Caitlyn Jenner, then it’s good enough for me’ (yes, before Caitlyn did all her surgeries and hormonal treatments, she turned to Espy Lopez, the owner of Classic Curves International, for her wonderful products).
Unfortunately for me, I gained some weight, all thanks to the anti-depressants that I have to take. Now this meant that the Veronica 5 started getting smaller (or, rather, I got larger 😉 ). Espy naturally suggests on her e-commerce site that we get new garments from her with precise measurements — because they are meant to be tight fits — but, alas, I can’t afford getting new undergarments like these all the time. I’m sure that Caitlyn considered them dirt cheap — taking into account what you get in return! — but I’m not part of the Jenner/Kardashian clan, so I’m afraid I have to count every dime…
So what happened over the past two years was that I crossdressed way more than before. And that meant giving the Veronica 5 a lot of use. As I gained weight, however, that meant the Veronica’s elastic fabric had to compress with much more strength. All would be well, since the Veronica’s lacey fabric is unbelievably strong — except that under the Veronica I also wear a corset.
That’s fine, because Espy knows our needs quite well, and she warns shoppers that they should take their measurements wearing a corset if they’re planning to wear them all the time — which is my case. So far, so good. The problem is that my corset has some protruding clasps, made of metal, to close the corset in front — and that means that these are constantly rubbing against the Veronica’s fabric.
The Veronica 2 I still own (as a reserve!) had a special protection in front. It was not much, just a slight bit of thin fabric to prevent the front zipper to chafe against your sensitive skin. Over time, however, I always caught this protection in the zipper and eventually ruined it beyond repair. But the principle was sound: the same piece of cloth was also good enough to prevent the corset’s clasps to rip through the Veronica.
The Veronica 5 has no such protection. Some corset manufacturers actually have the protection built into the corset itself, so that the clasps are hidden — a must when wearing bodycon dresses! The alternative, which I use, is to have a special undergarment to hide all the corset’s irregularities — but it’s yet another layer of clothing, so it means I can only wear it during the winter! There was therefore plenty of time for the unprotected corset to slowly rip through the lace…
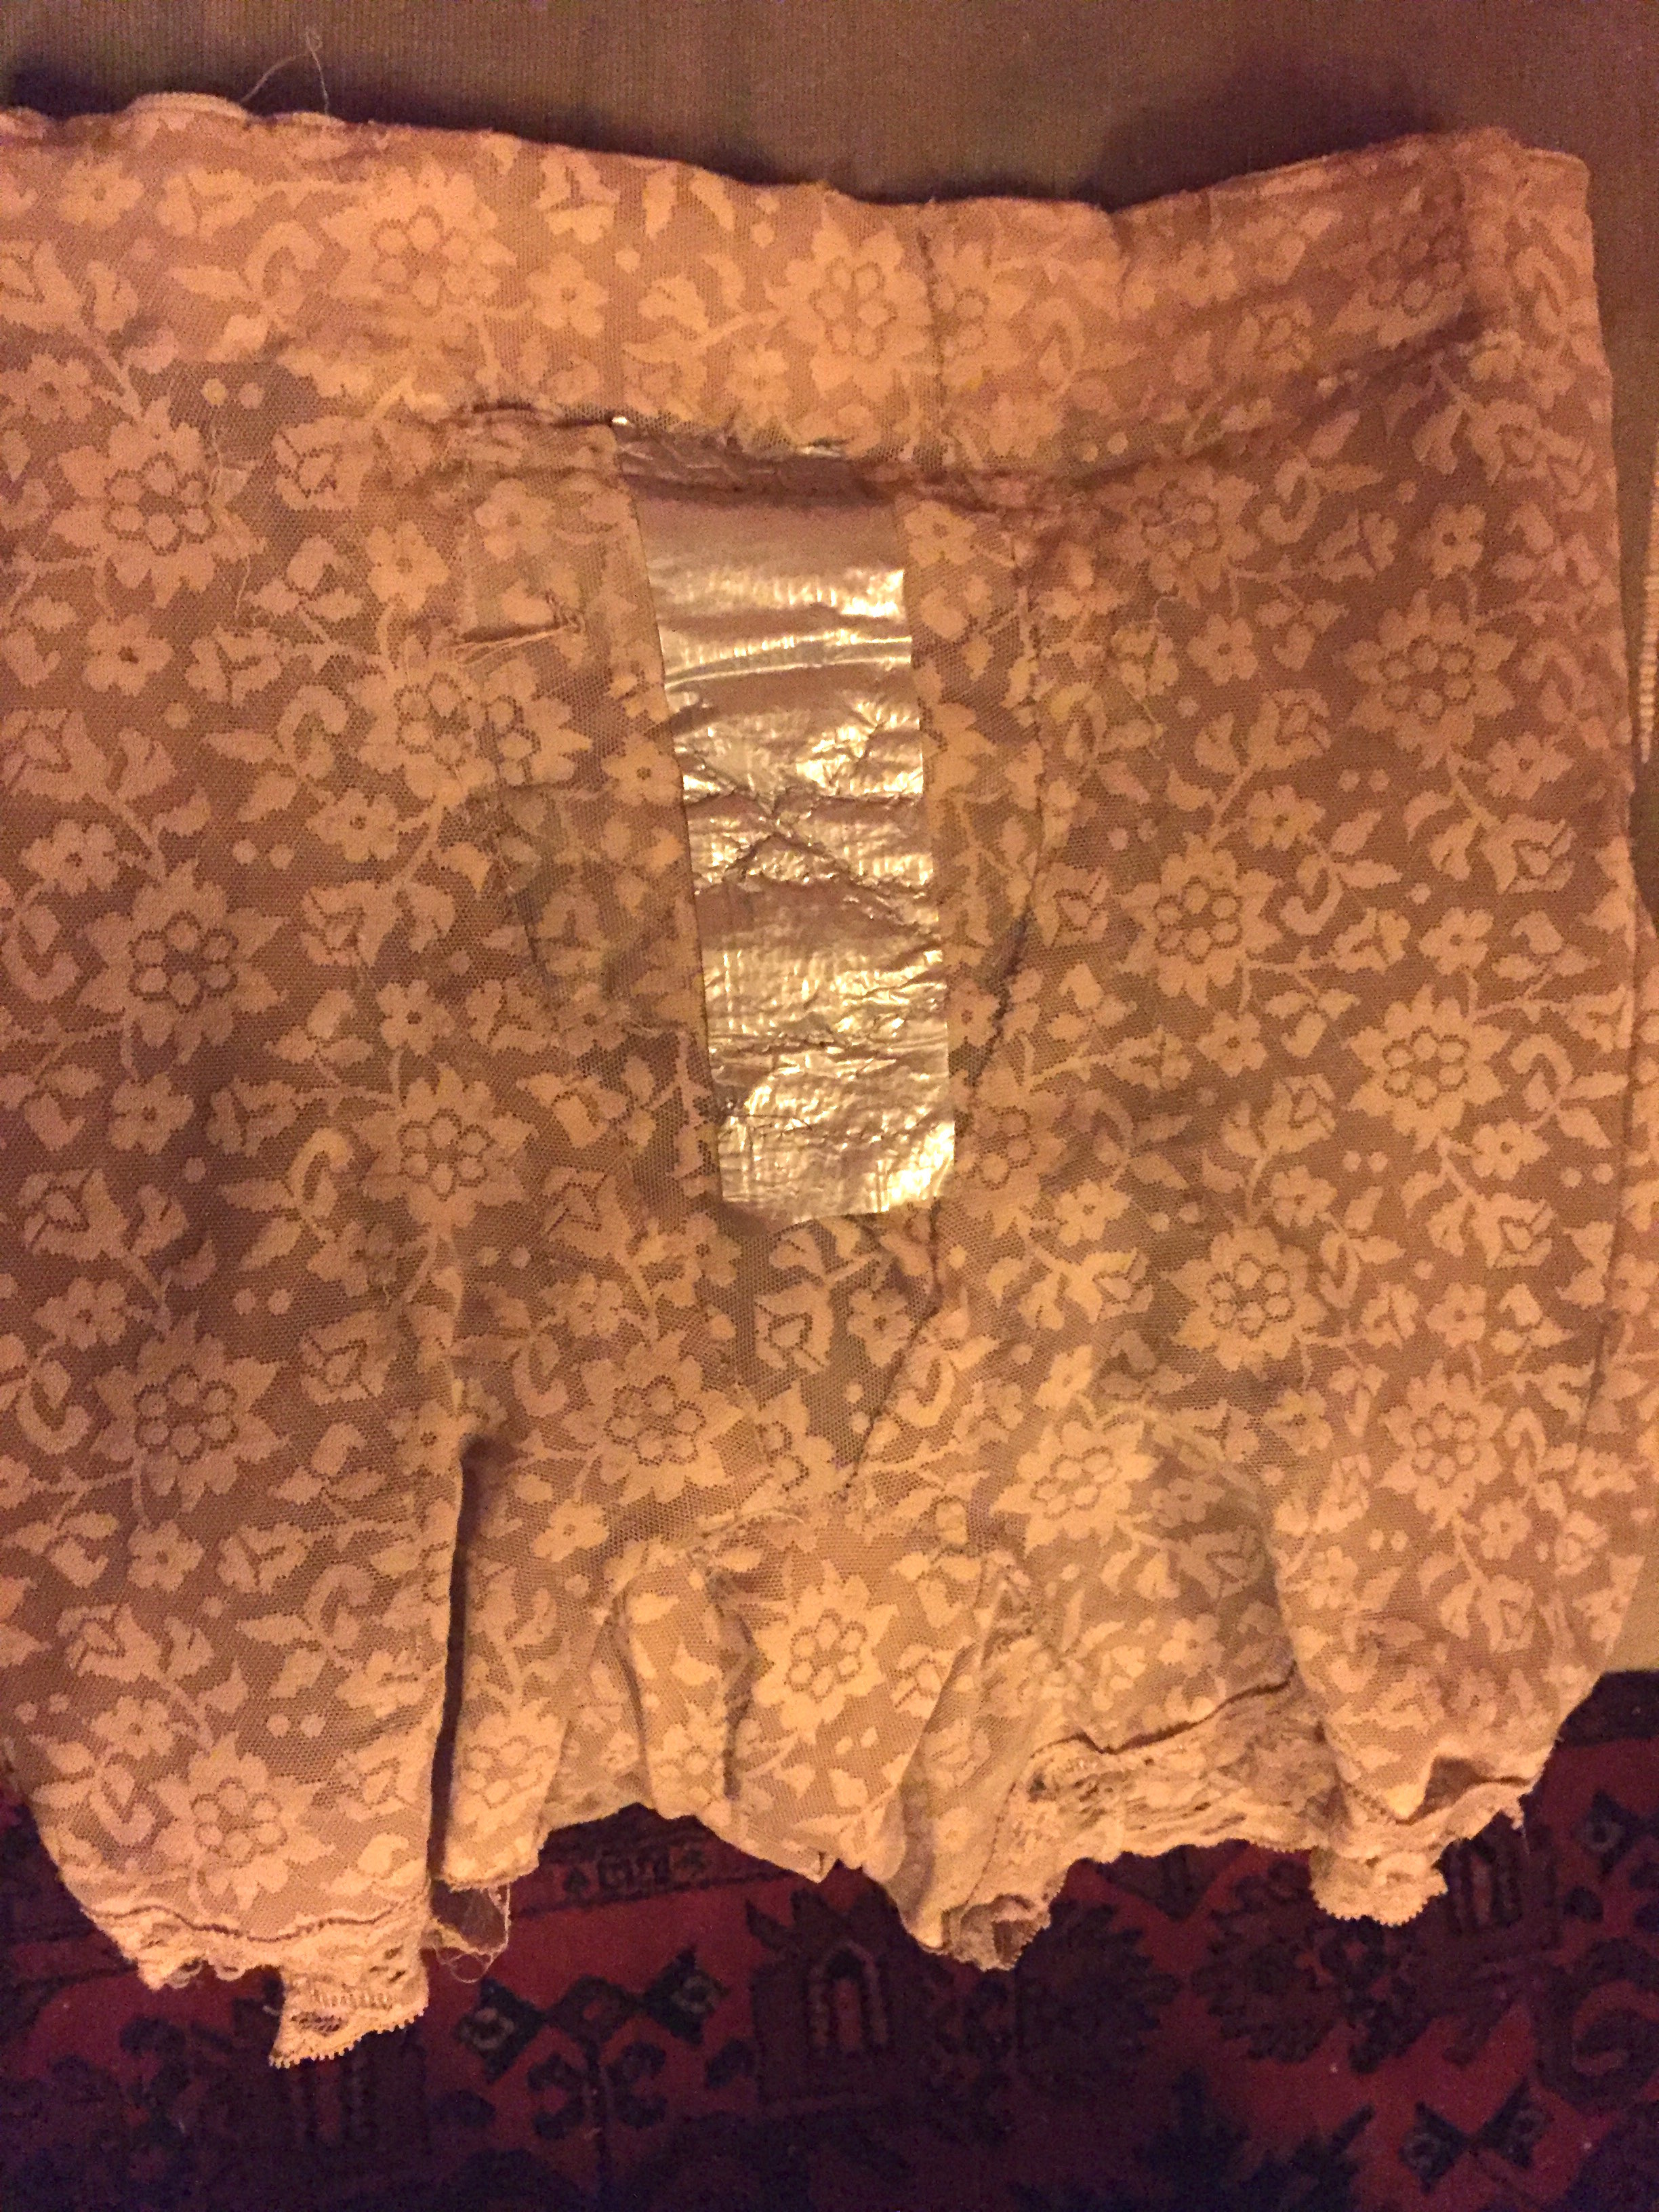
It didn’t happen from one day to the other. I’m pretty sure that the Veronica withstood the test of time for at least a whole year. During its second year, however, the first rips started to appear. For many, many months they didn’t make much of a difference. But, at last, the holes were big enough for the Veronica not being able to keep everything in place — meaning that the edge of the corset started to become noticeable under tight clothing, for instance. And, finally, after two years, the lace gave up — and it ripped completely in the front, like this:
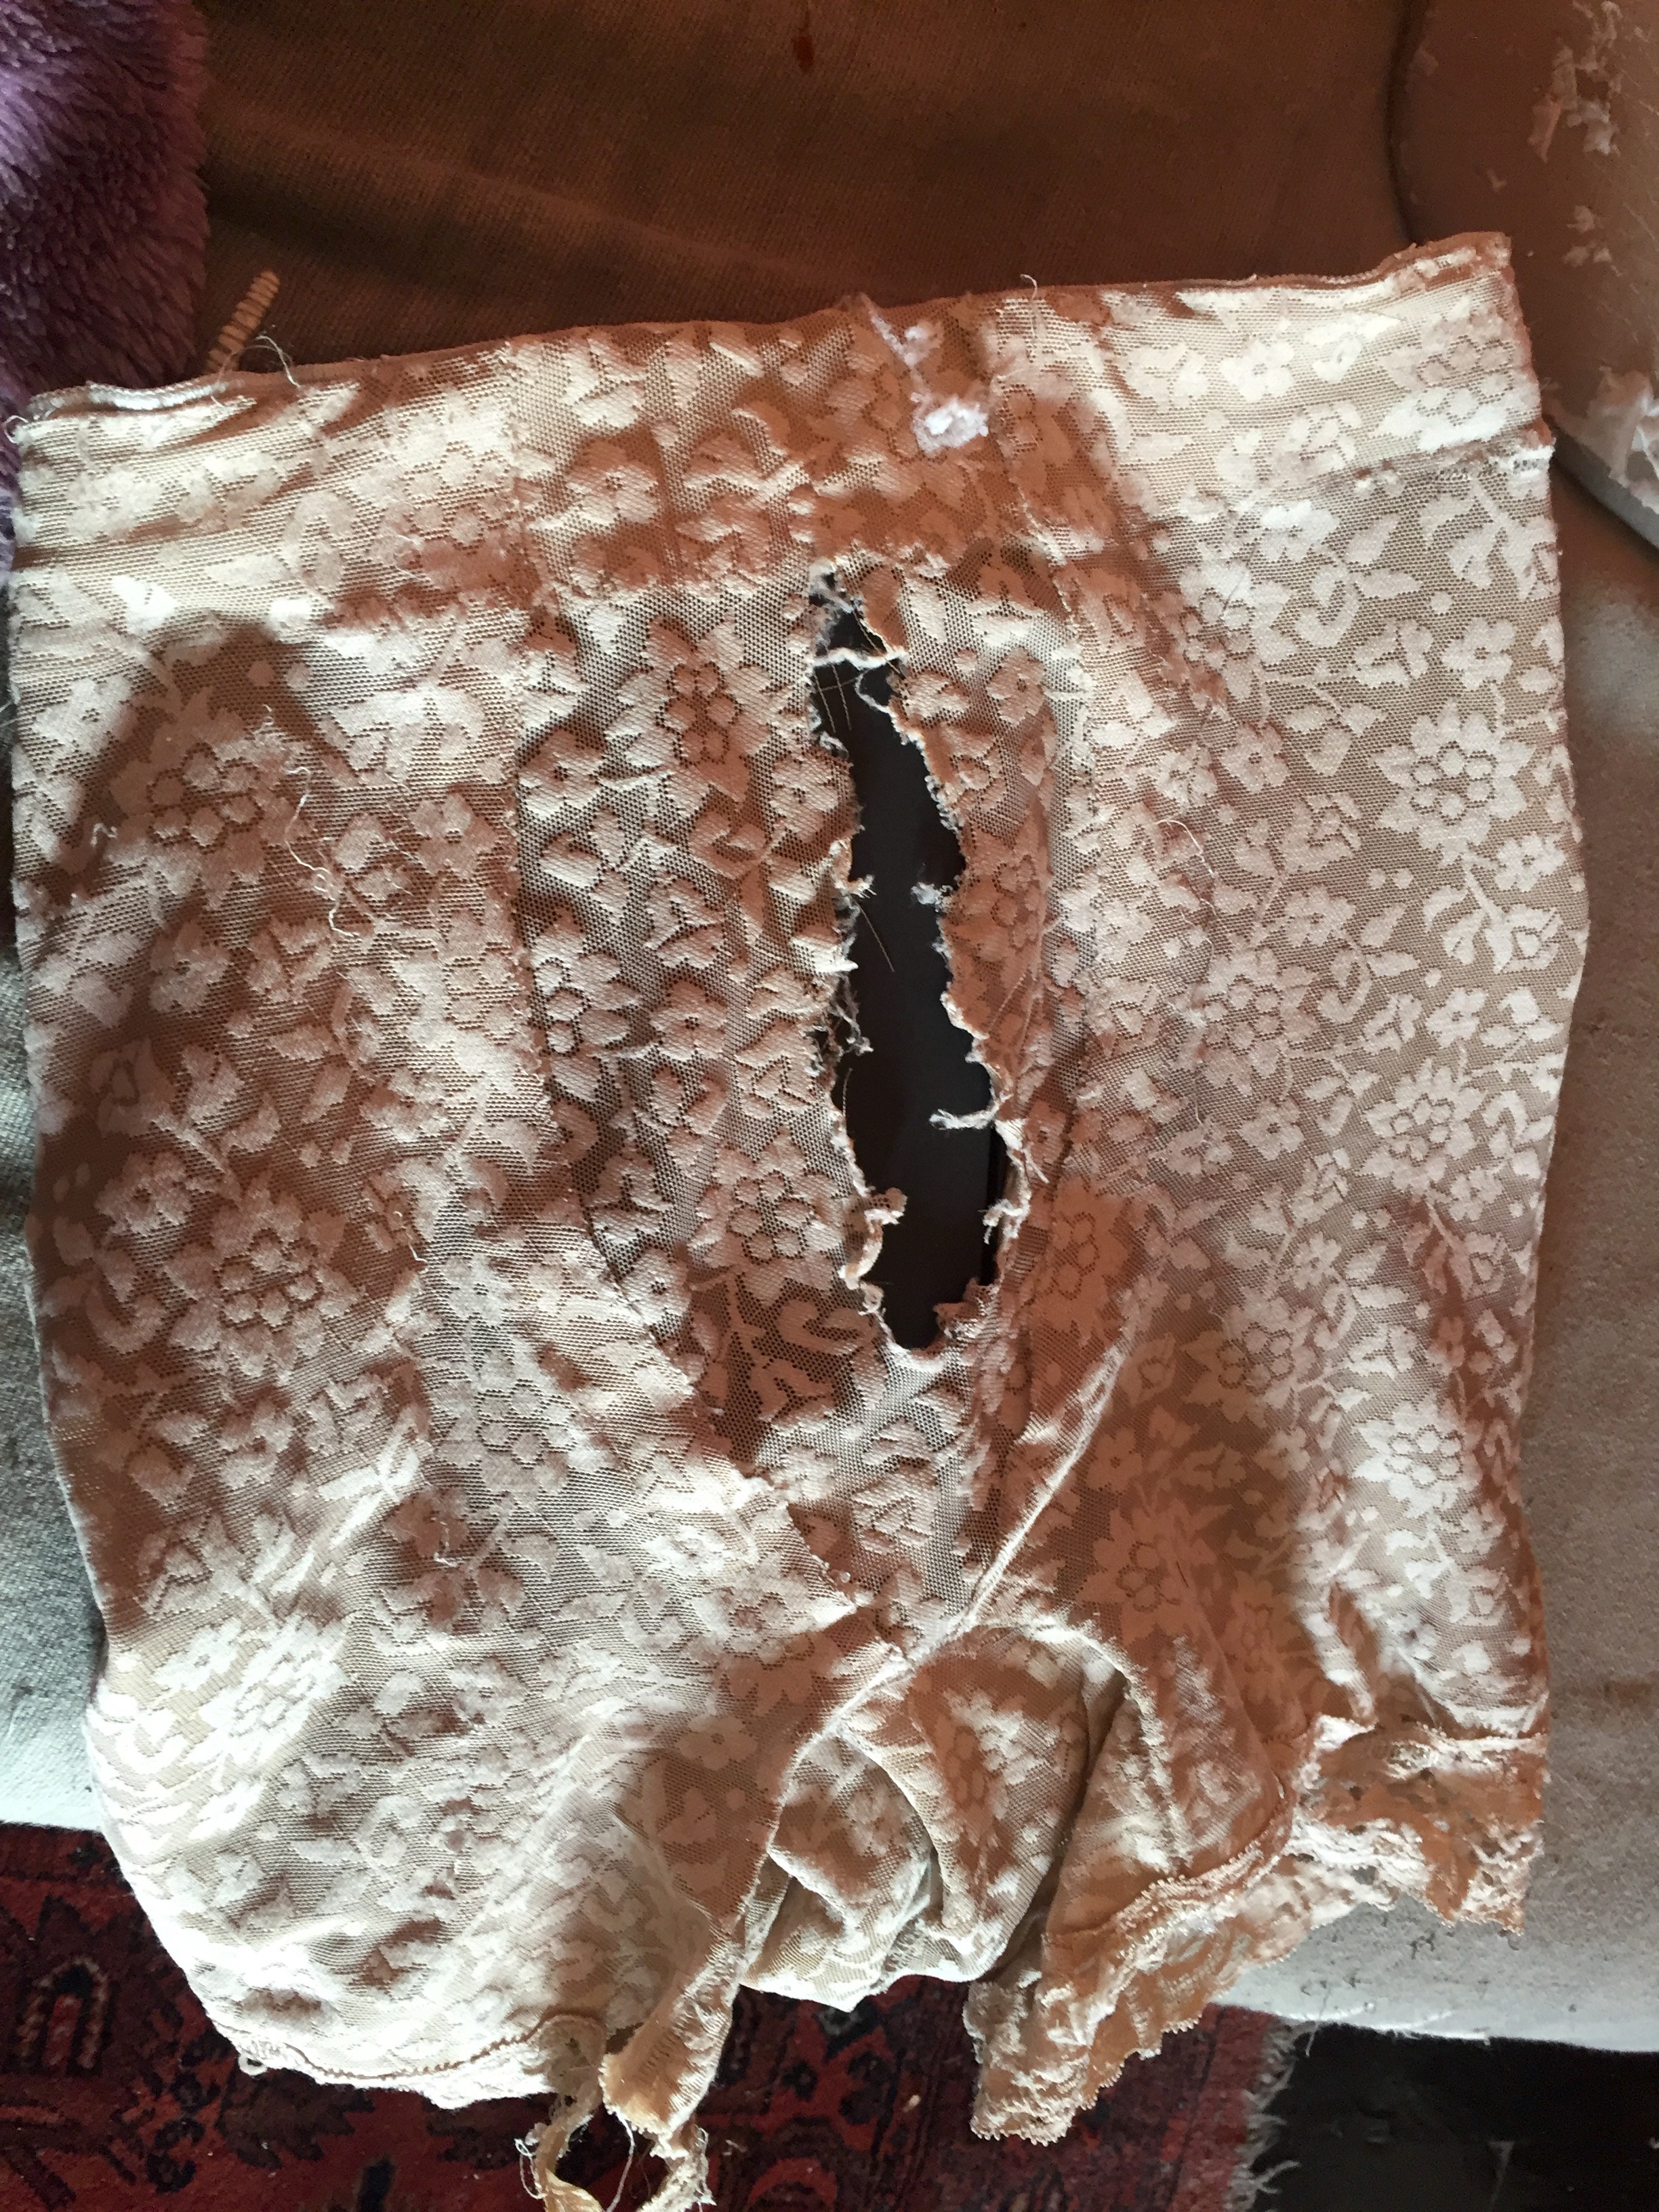
Not a pretty sight, is it?
Now, to be truthful, the undergarment, even in spite of the big rent in the front, is not unusable (I actually went out yesterday with my wife — yes, a rare occasion! Usually I just pick her up — with the Veronica already in this state). This is all thanks to the clever design of the Veronica: while the big elastic band at the top is whole (which will ‘become’ your waistline; under a corset, it will snugly fit precisely where the waistline is being defined by the corset), the Veronica will still do its work — i.e. keeping the gel pads in place.
But there is a difference: because of the strength of the elastic lace material, thanks to the rent, it will be a little more looser. And, of course, the edge of the corset will also not be properly kept in place; because I have such tight skirts and dresses, that means it gets a strange ‘bulge’ at the wrong place. Gah! Exactly what one does not want to see!
Having the afternoon free, I decided to repair the Veronica. First, of course, I needed to repair the corset itself. It’s also getting a size or two too small for me, but I haven’t bought a replacement for that, either. The worse thing about a corset getting older is that the steel whalebones start to poke through the fabric. Ouch! No, it isn’t fun at all! It’s not easy to repair a corset, because it is made of a such strong material, which has to keep those steel whalebones in place. So what do I use? Duct tape! Yes, duct tape is not very good at sticking to cloth, and eventually it will get loose, but you can always tape it over again. No, it’s definitely not sexy. Yes, it works rather well 🙂 And so I patched my battered corset a little more…
But back to the Veronica! Now, my first idea was simply to sew the rented garment together. I’m not an expert in sewing, and I have no sewing machine at home, but I can work with a needle 🙂 Recently I completely restored an old pair of black jeans which I love; and denim is also a kind of fabric that it’s rather hard to sew. It didn’t look very good, but at least I fixed the jeans 🙂 I do similar little things all the time, like fixing my handbag, and so forth. I’m not very handy, though. But… I manage. So I thought that I could give it a go on the Veronica as well.
Well, one thing is sewing a rent in a pair of (male) jeans. The Veronica, unlike the jeans, have to sustain titanic forces — keeping all my body fat in place and making sure the gel pads don’t fall off 🙂 You cannot really believe how strong that elastic lacey fabric is — it is truly amazing 🙂 Therefore, I was pretty sure that my stitching wouldn’t be strong enough to hold the two edges of the rent together. Worse than that: because I would need to sew it along the edges, needing a few millimetres from each side, the Veronica would actually become even more tighter. On top of that, the irregular texture on the inside (because the rent is a zig-zag line…) would almost certainly get caught on the corset…
So while I was having a shower (always a great place to come up with clever ideas!) I thought that I ought to use another approach — namely, stitch a bit of cloth on top of the rent, on the inside. People would never notice the difference, and that extra cloth might actually give some additional protection.
The next step was to look through my ‘black Pandora box’ — a box where I keep a lot of my crossdressing stuff, including bits of leftover cloth from dresses that have been fitted (by a pro, not by me!). Maybe something would be big enough to cover the rent!
And I was lucky. One of my favourite dresses had some shoulder padding, something that, as you can imagine, I truly don’t need. So I had cut them off and kept them in the box.

Now this was actually quite fortunate — not only it covers the rent quite well, but because it is actual padding, it will most certainly keep any strange ‘corset bulges’ well hidden beneath the undergarment — exactly what I wanted 🙂 (In fact, Espy, if you’re reading this, you might have something custom-made as an option to the Veronica 5 — I would most certainly be willing to pay a bit extra to have this padding to better protect the Veronica from rents).
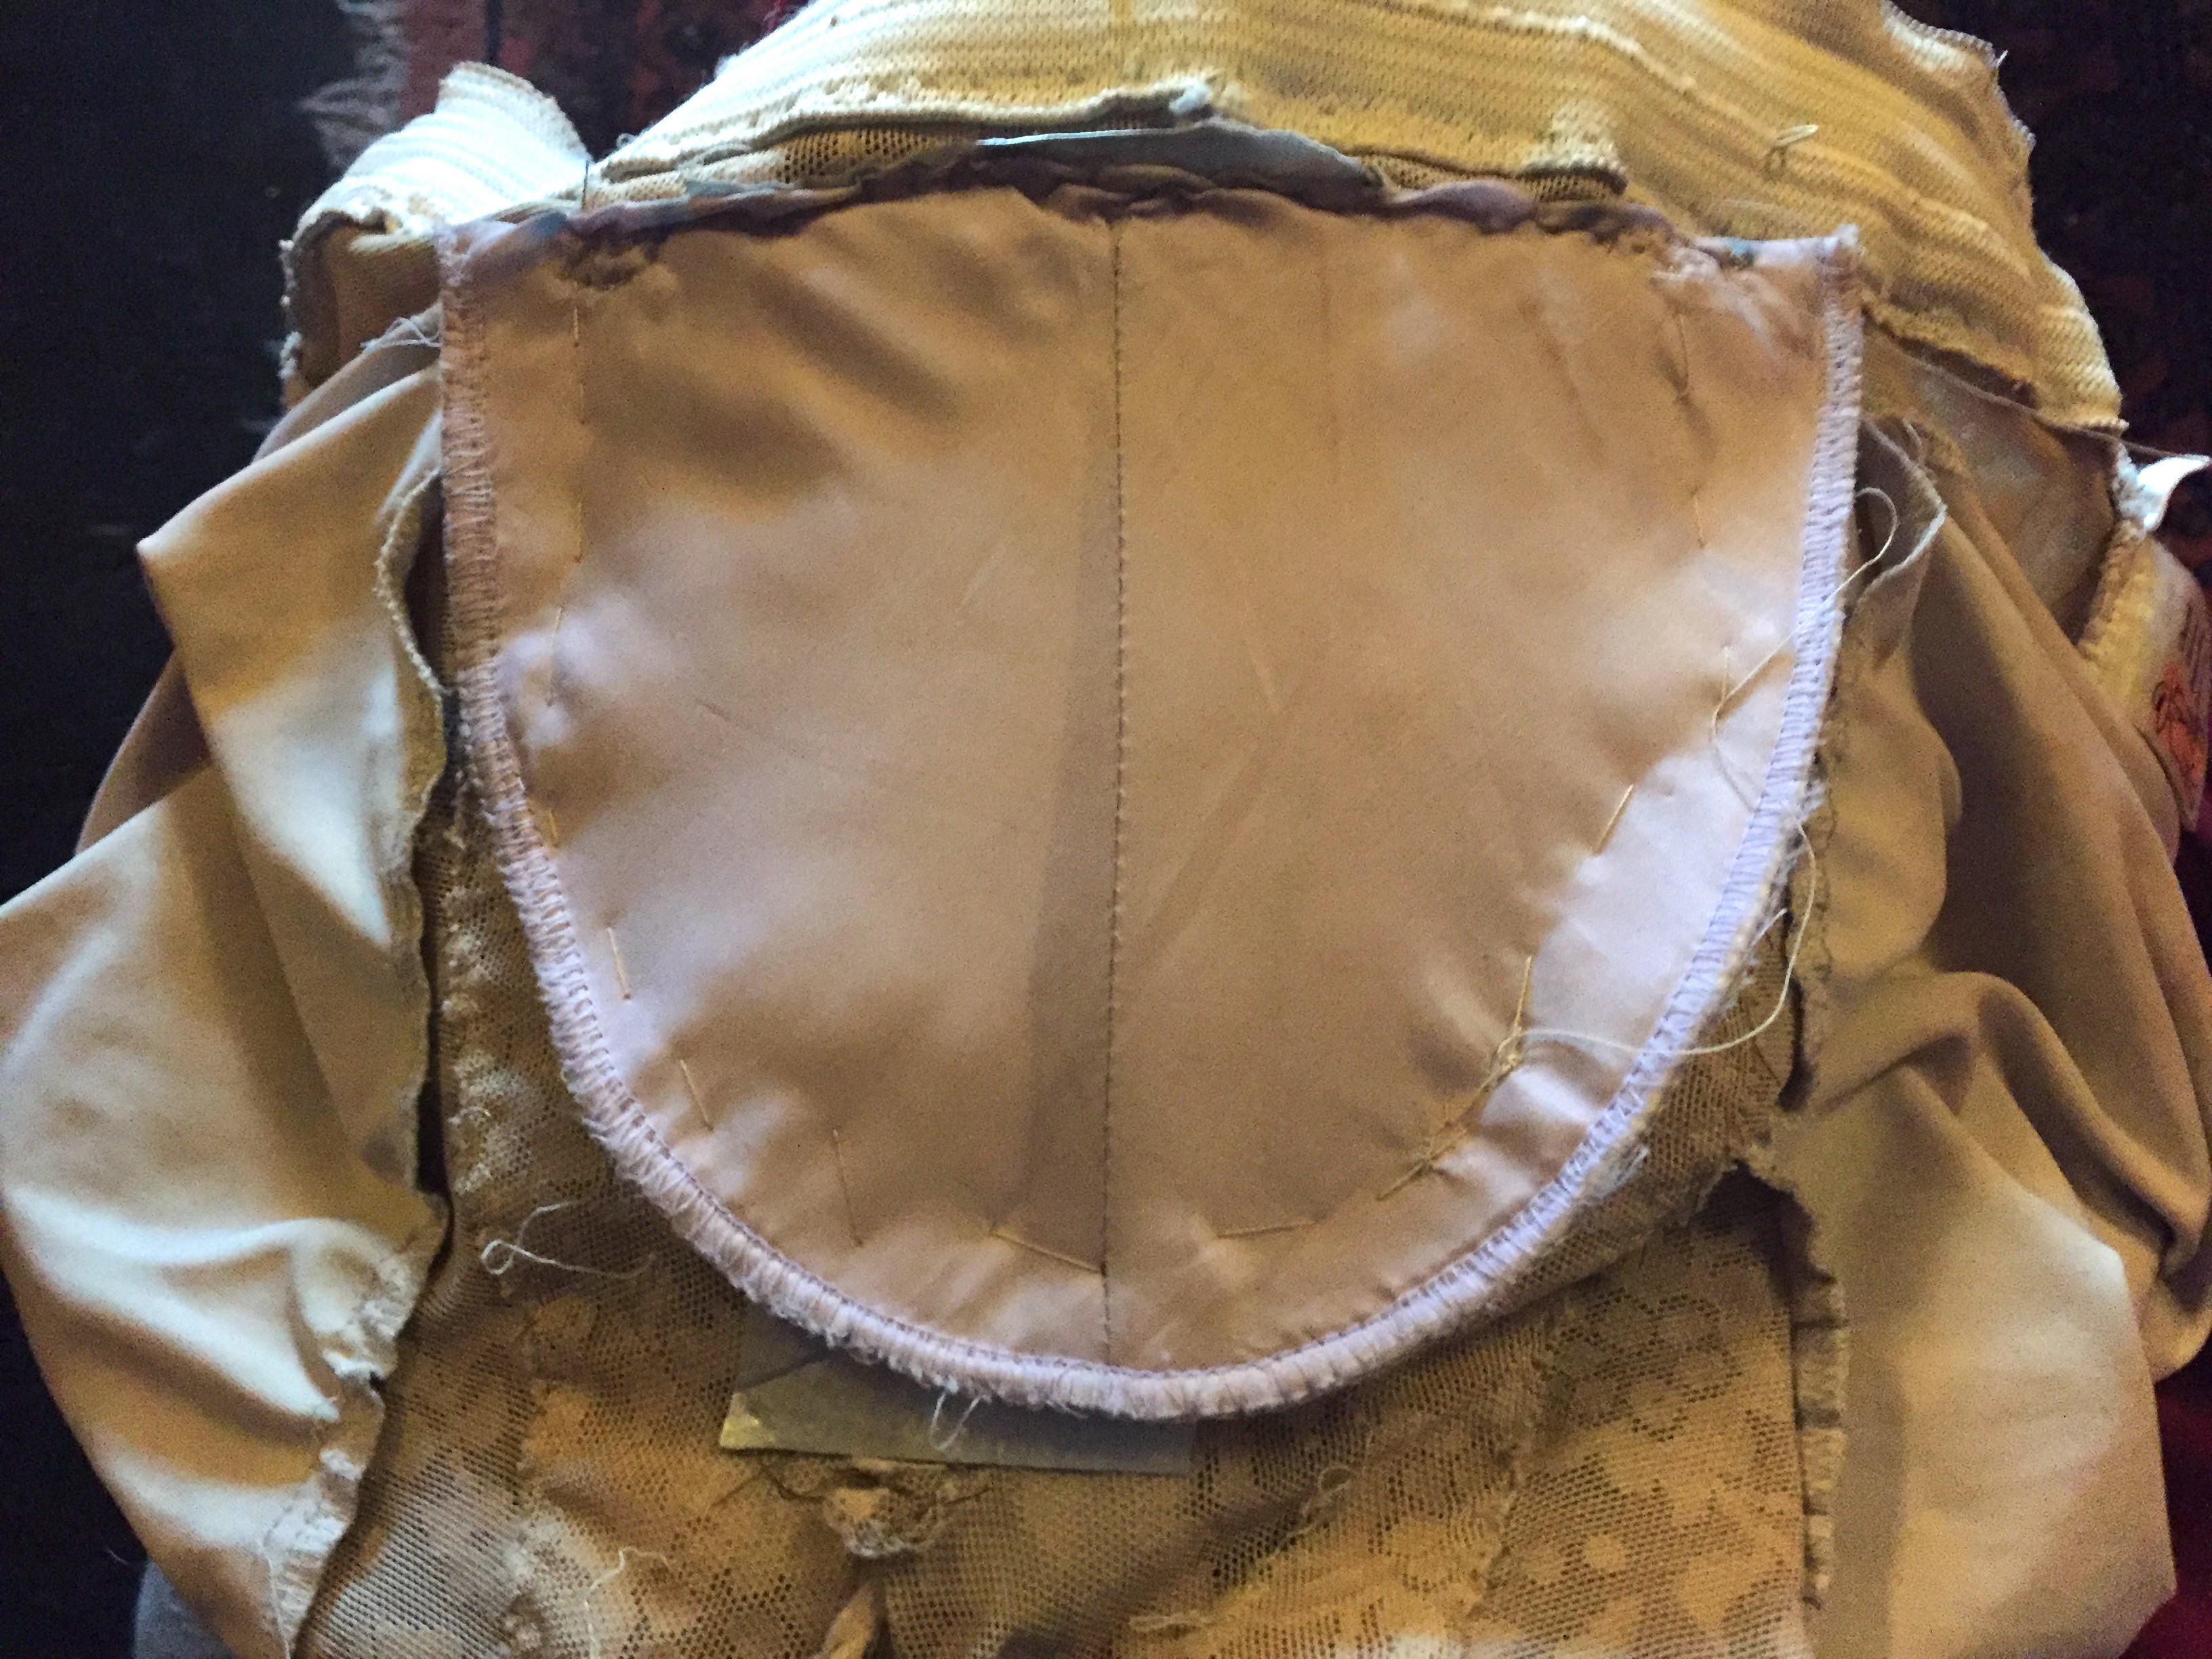
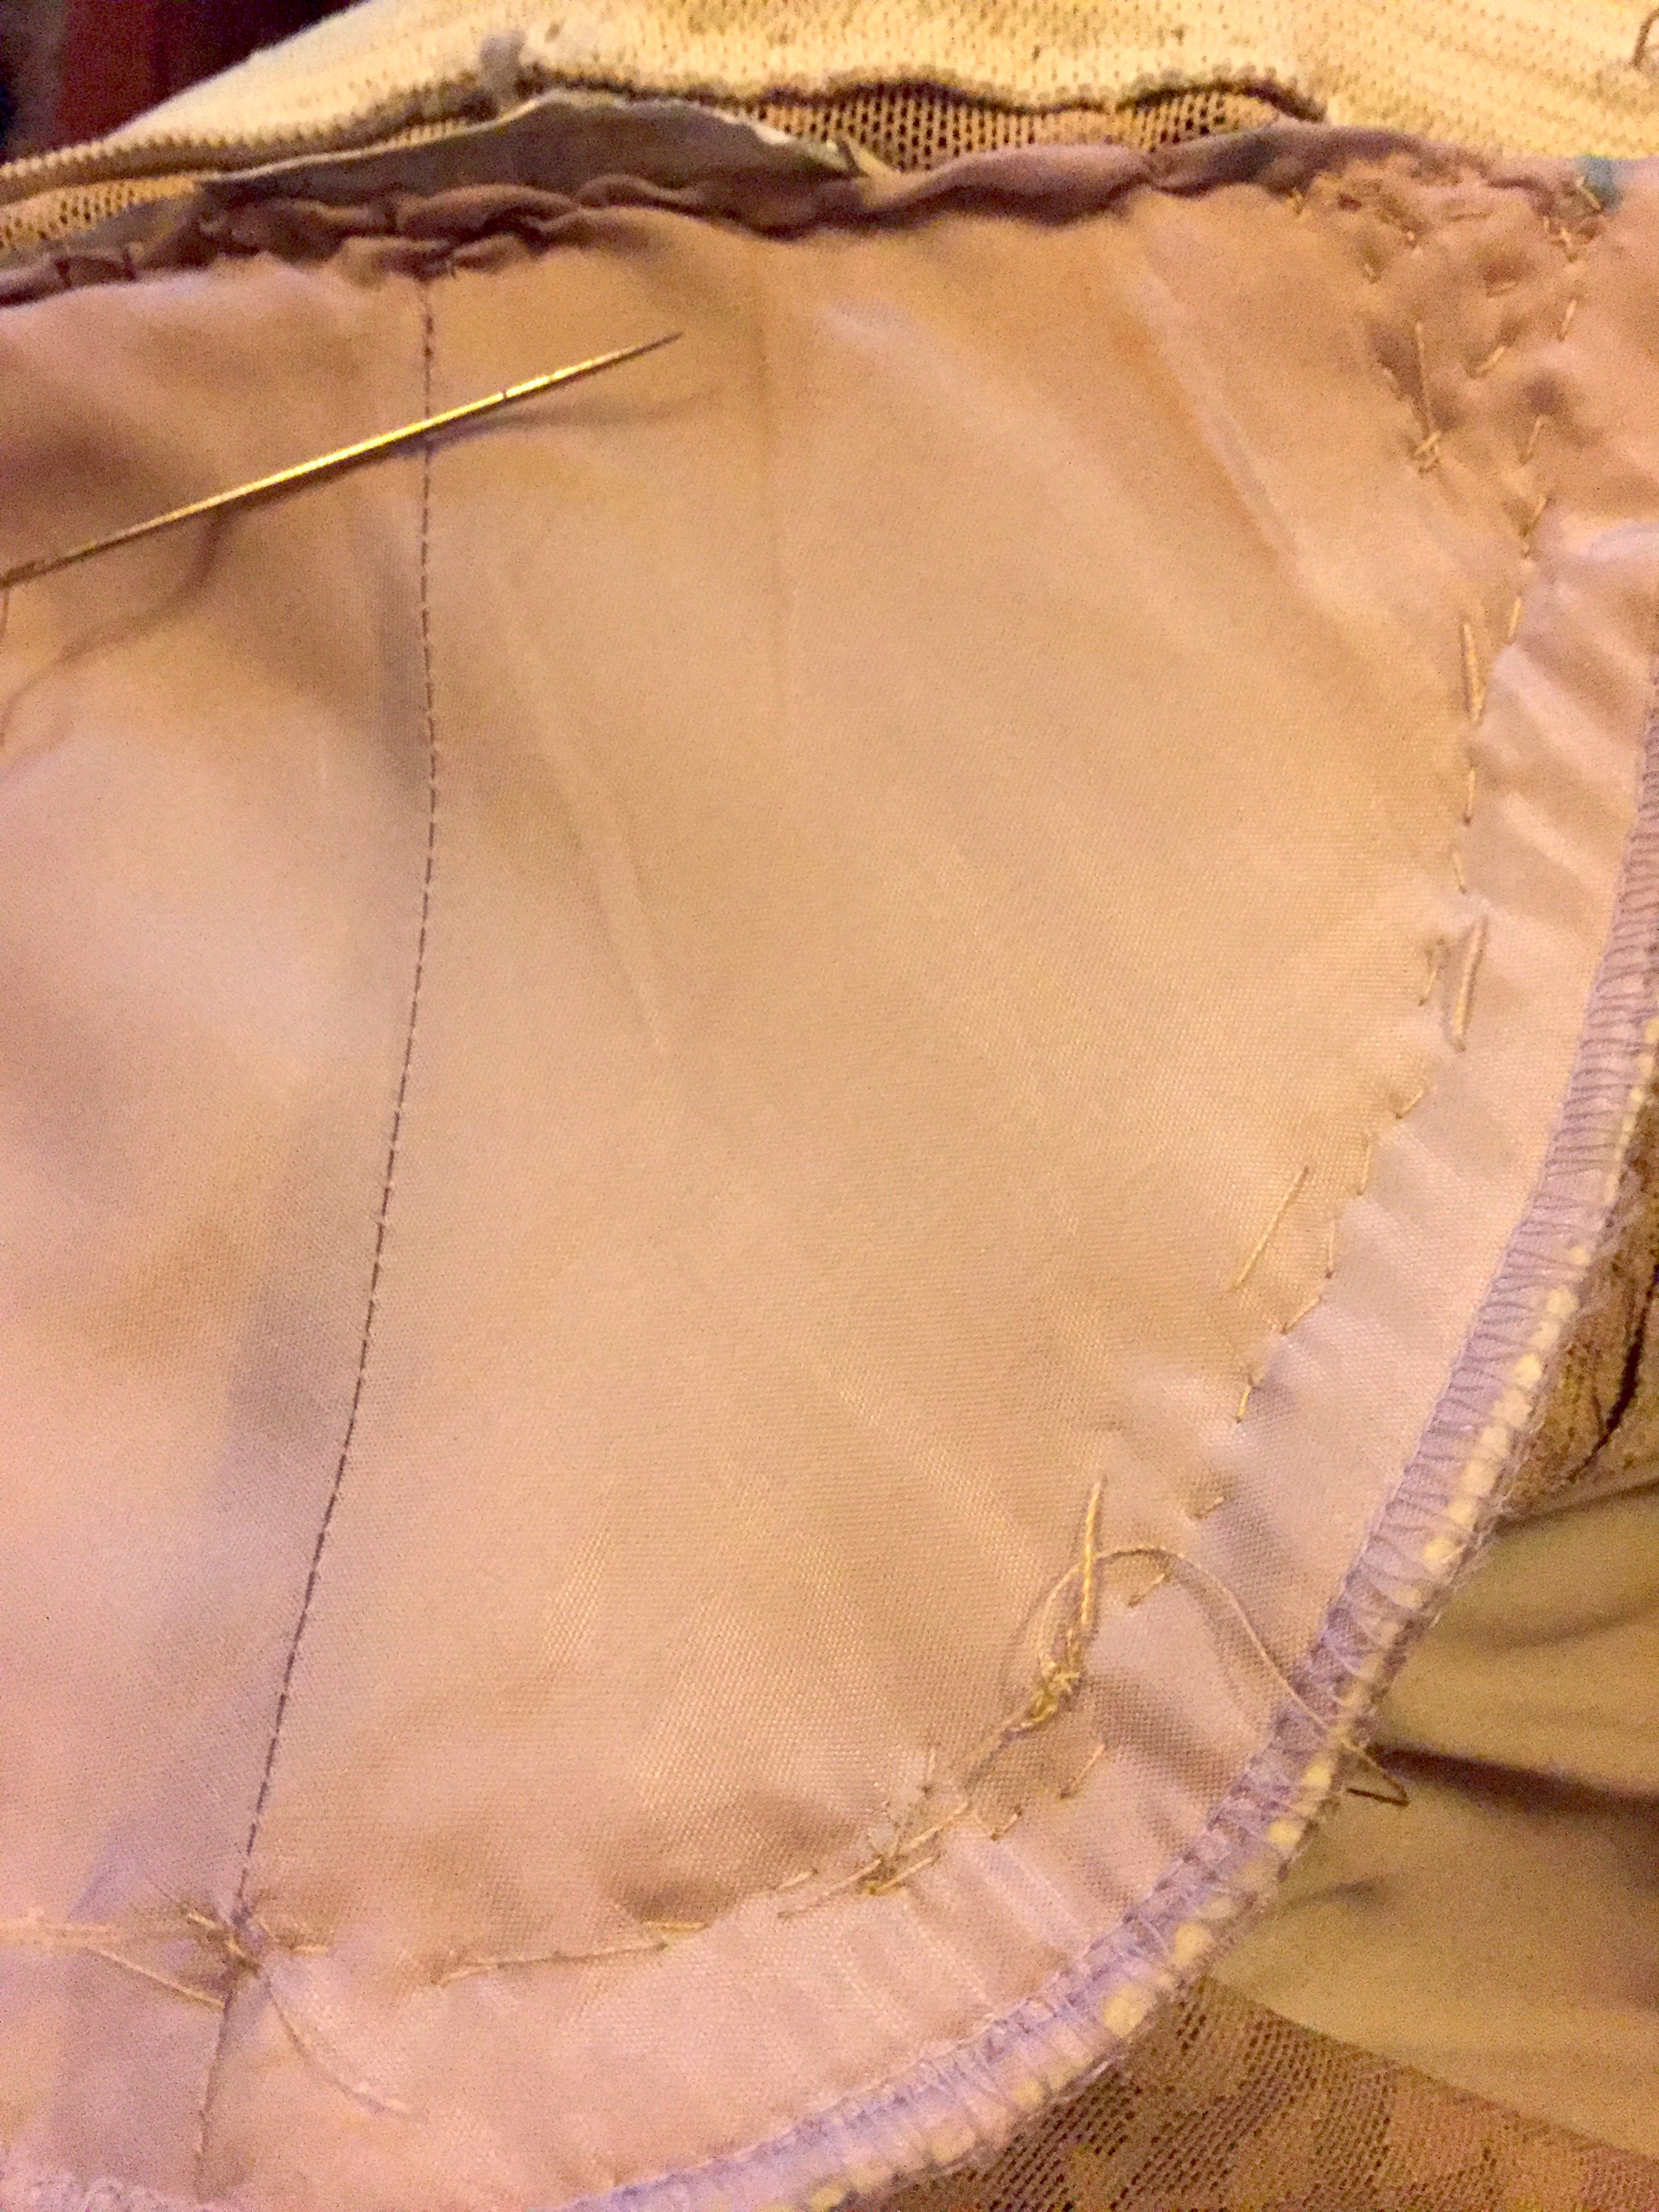
What baffled me next was how to keep the rent together while stitching this shoulder pad on top of everything. This is how the Veronica looks like from the inside, i.e. once I turned it inside out:
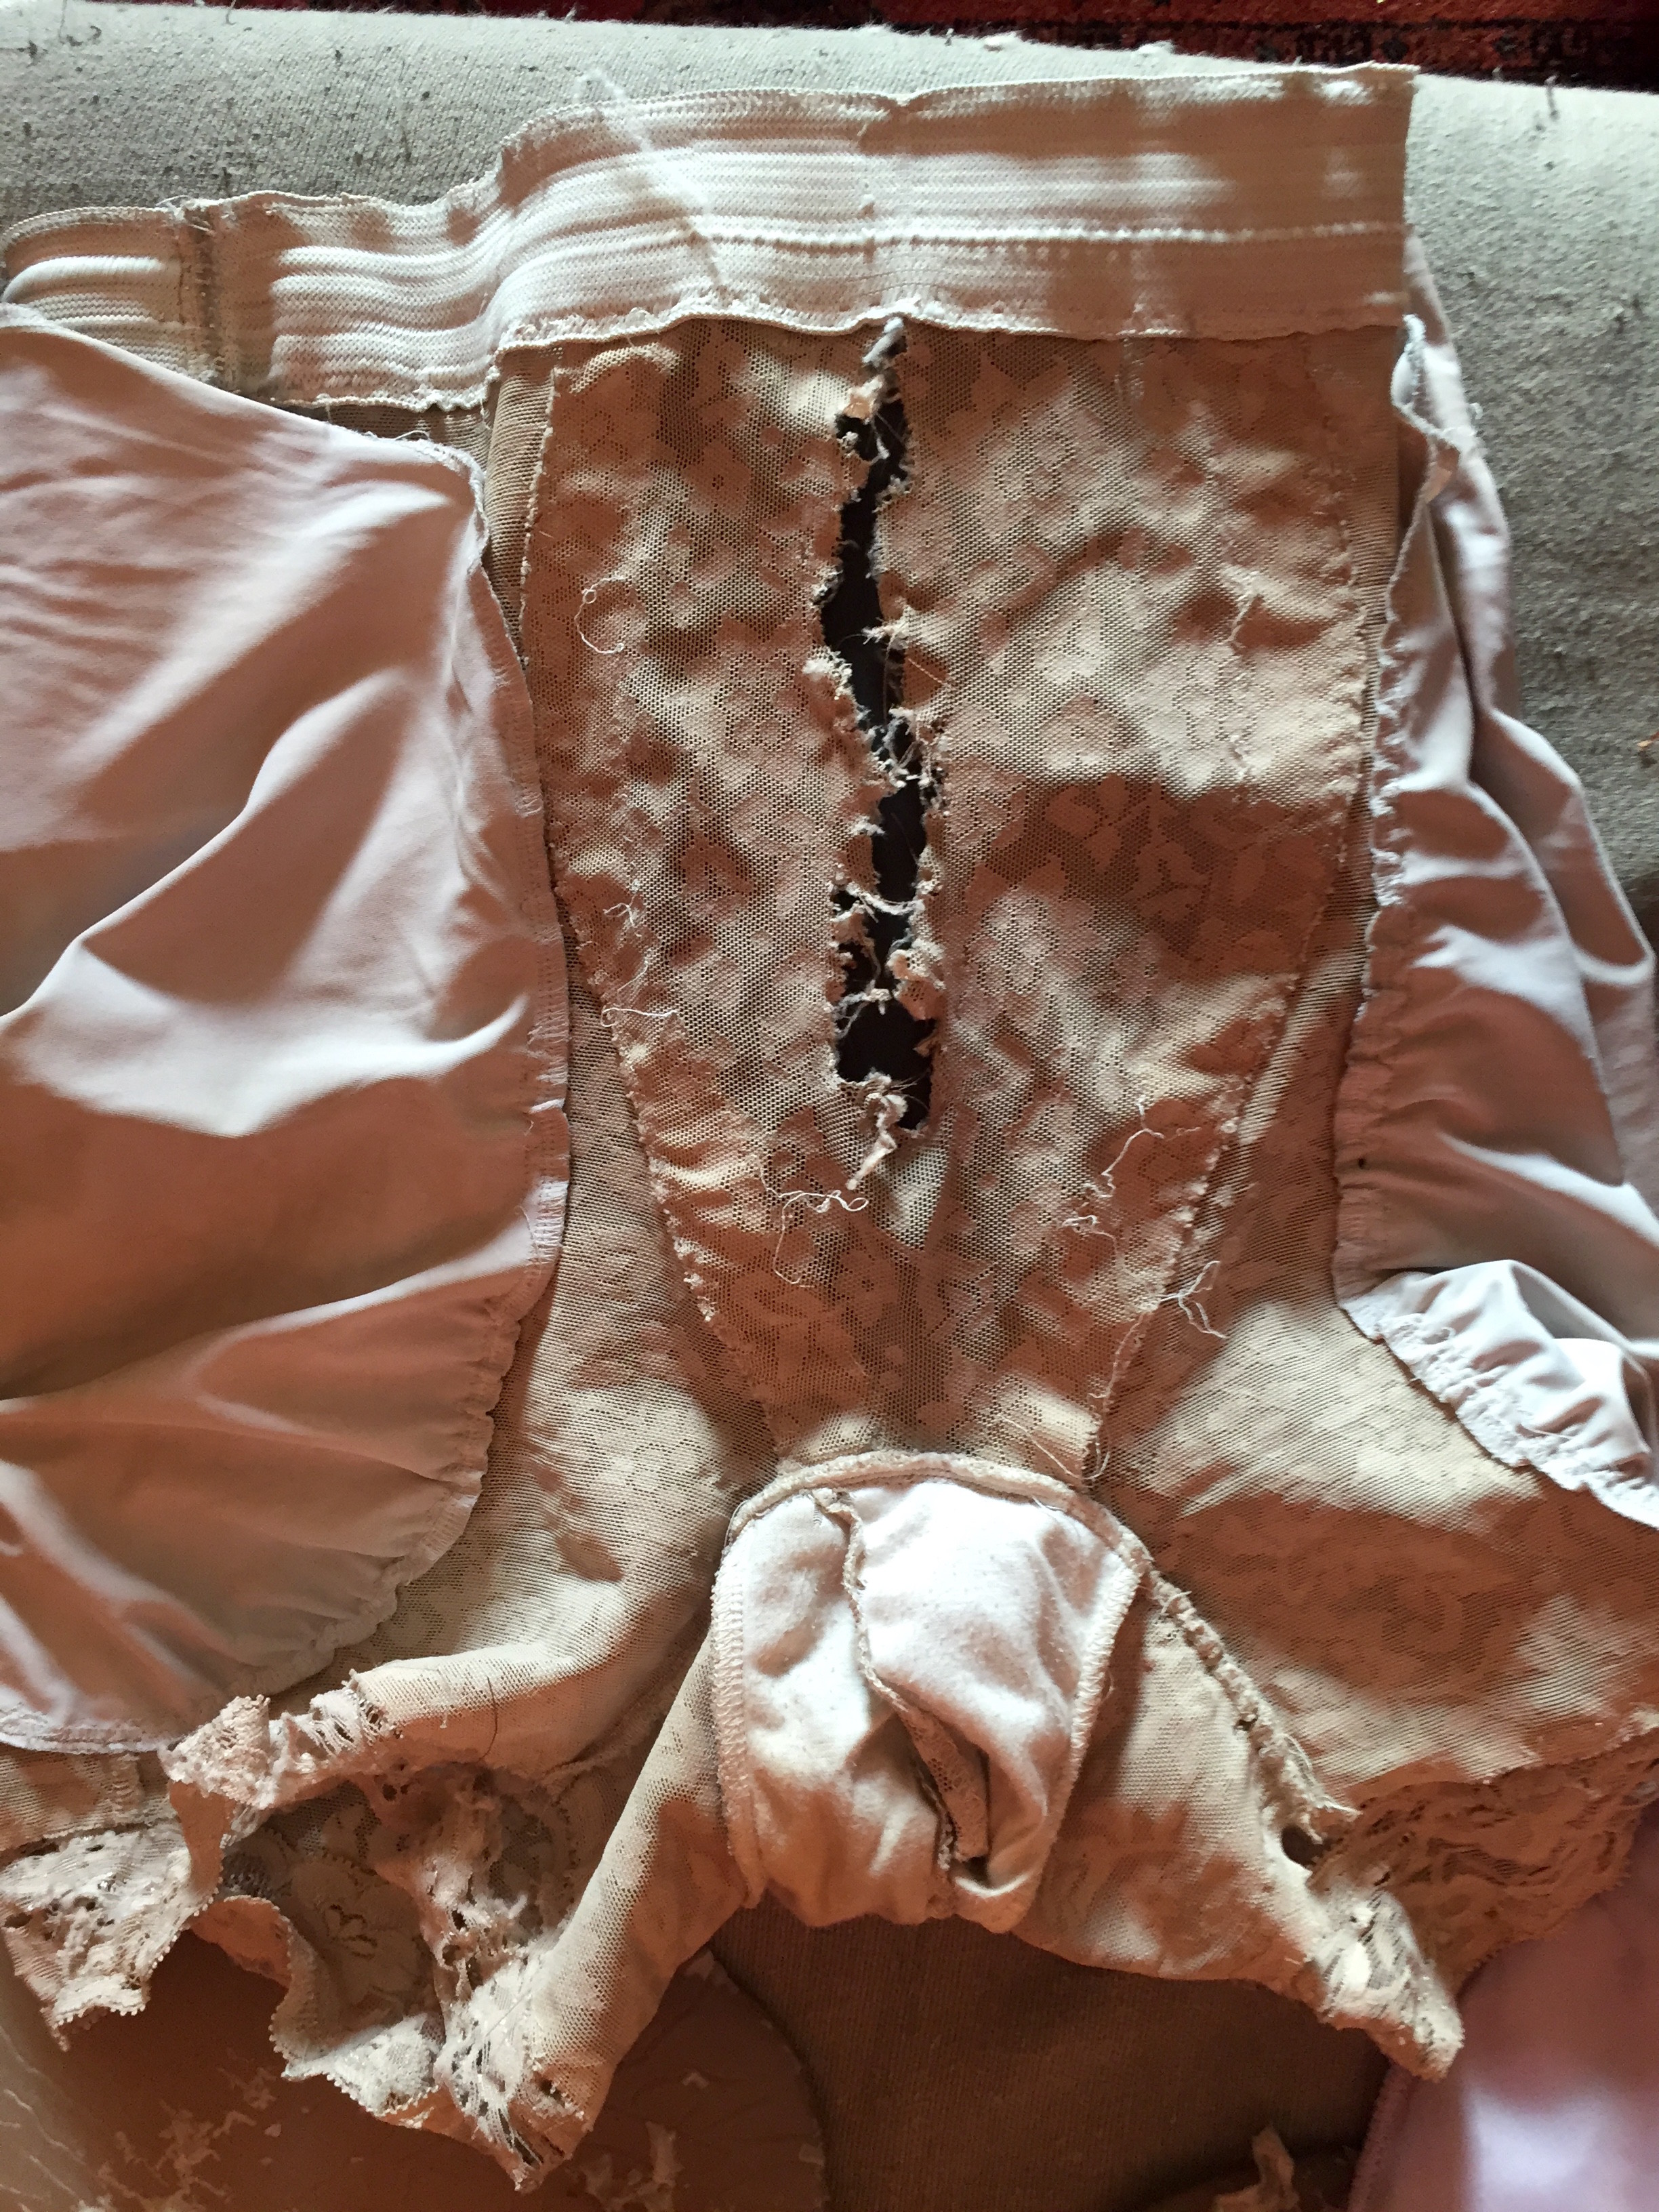
From the inside, you can see quite clearly the extra elastic reinforcement, which is sort of V-shaped, keeping everything together in place. Because I was not sure if sewing directly over lace would work as expected (lace is so… flimsy!), I was expecting to make extra stitching along the reinforced area, where I hoped that the line would hold. All I needed was to keep the rent somehow in place while doing my stitches. Stapling the hole together was an idea, or using safety pins, or something like that.
But a bright lightbulb suddenly popped over my head: why not use duct tape?

Now, there is no tape stronger than duct tape, and its adhesive properties are legendary, but, as I said before, it doesn’t quite work well on top of cloth. My solution was simple: stitch over the duct tape! Then it will be in place for sure! And I actually placed duct tape on both sides (i.e. inside and outside the hole). So in some places, I was actually stitching through four layers — two layers of duct tape, one of the Veronica itself, and the shoulder pad (which, as its name implies, is filled with something to keep its structure). Yes, it wasn’t very easy to punch the needle through all that!
First things first, though: to keep the shoulder pad in place, I did some quick coarse stitching around the pad.
Ugly, isn’t it? It’s fine, these are just to keep it in place. Then it’s time to move on to more finer stitching:
Whew! The top is done, and one of the sides is done as well. Moving on, I was trying to figure out how the actual forces on the Veronica would be distributed: most of the elastic, in this area, is strongly pulling the fabric to the sides. So I didn’t trust just a single line of stitches (on each side) to keep it all in place. Instead, I remembered from the many conversations with my wife how people built houses in the Middle Ages to resist earthquakes: they put a lot of diagonal elements, to distribute the forces better. You can still see these on the Tudor houses in England, or the Fachwerk style in Germany and Central Europe. It was a very popular method of distributing forces, so I did the same: 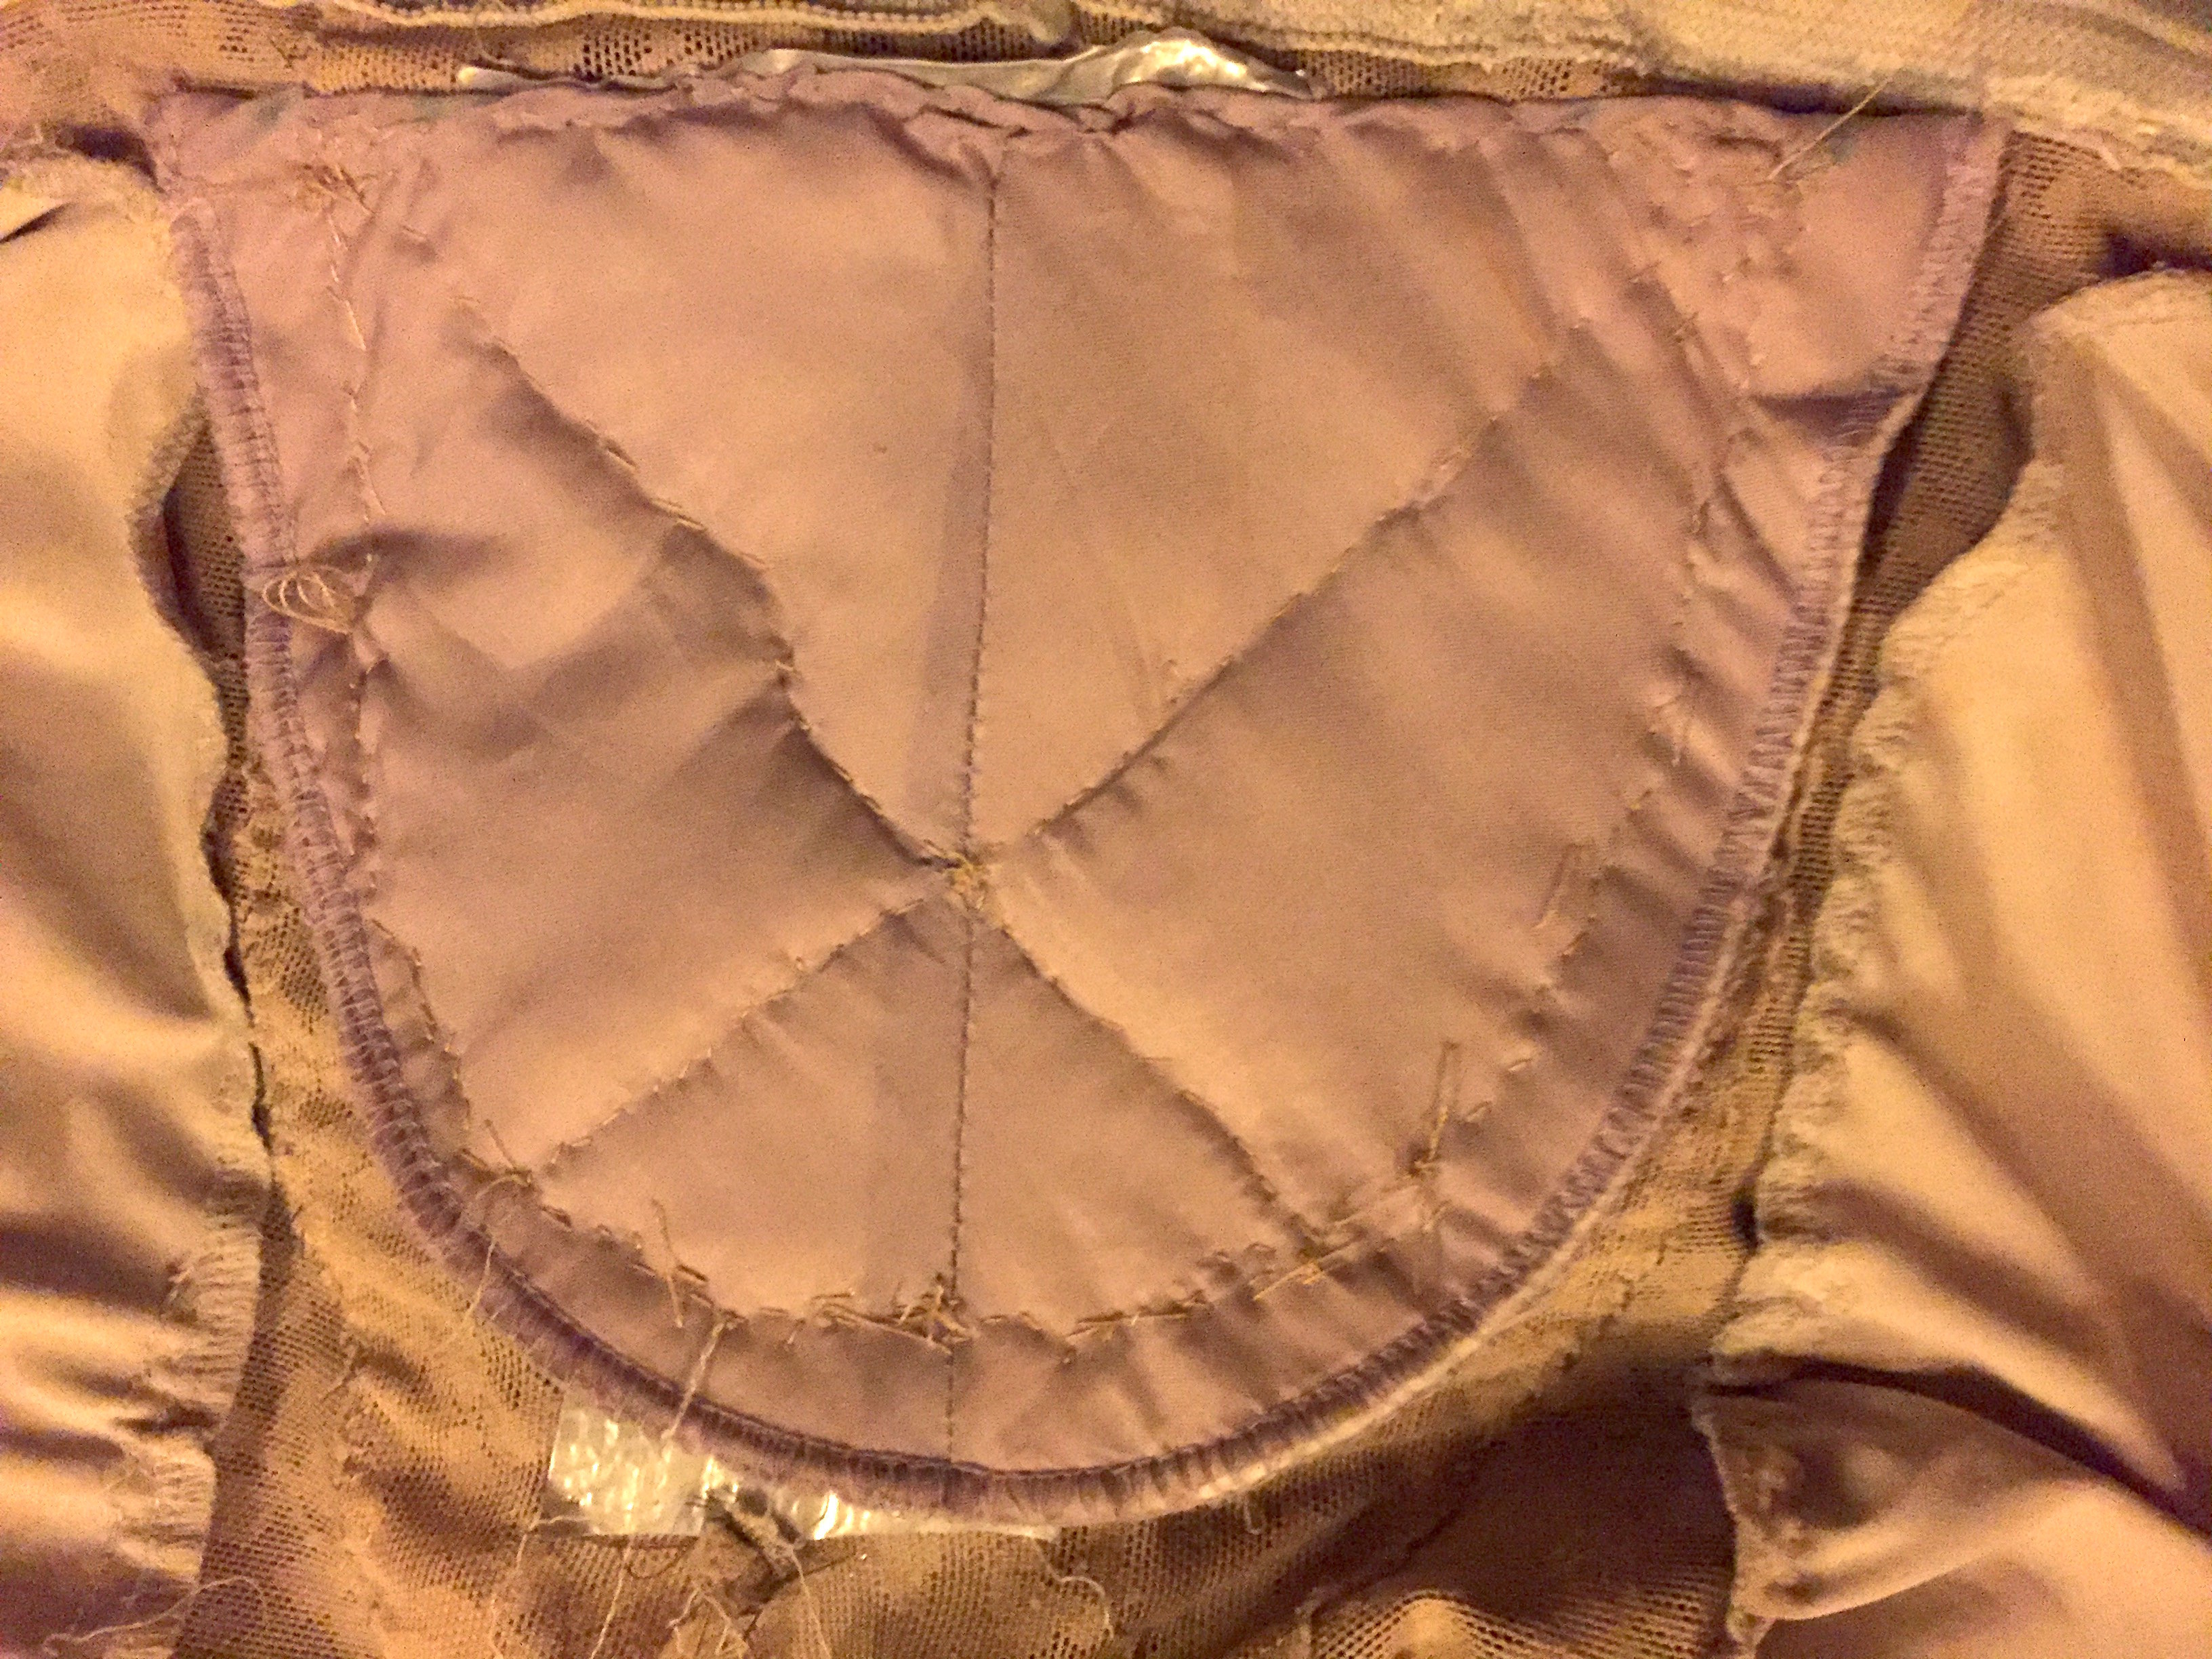
As an engineer, and even though I just understand about computers, I was taught to be ‘better safe than sorry’. So if the strongest forces will be the lateral ones, just to be very sure, I’ve added two extra lines of stitching in the middle, as well as reinforcing some of the other lines of stitches. The top has actually three lines!
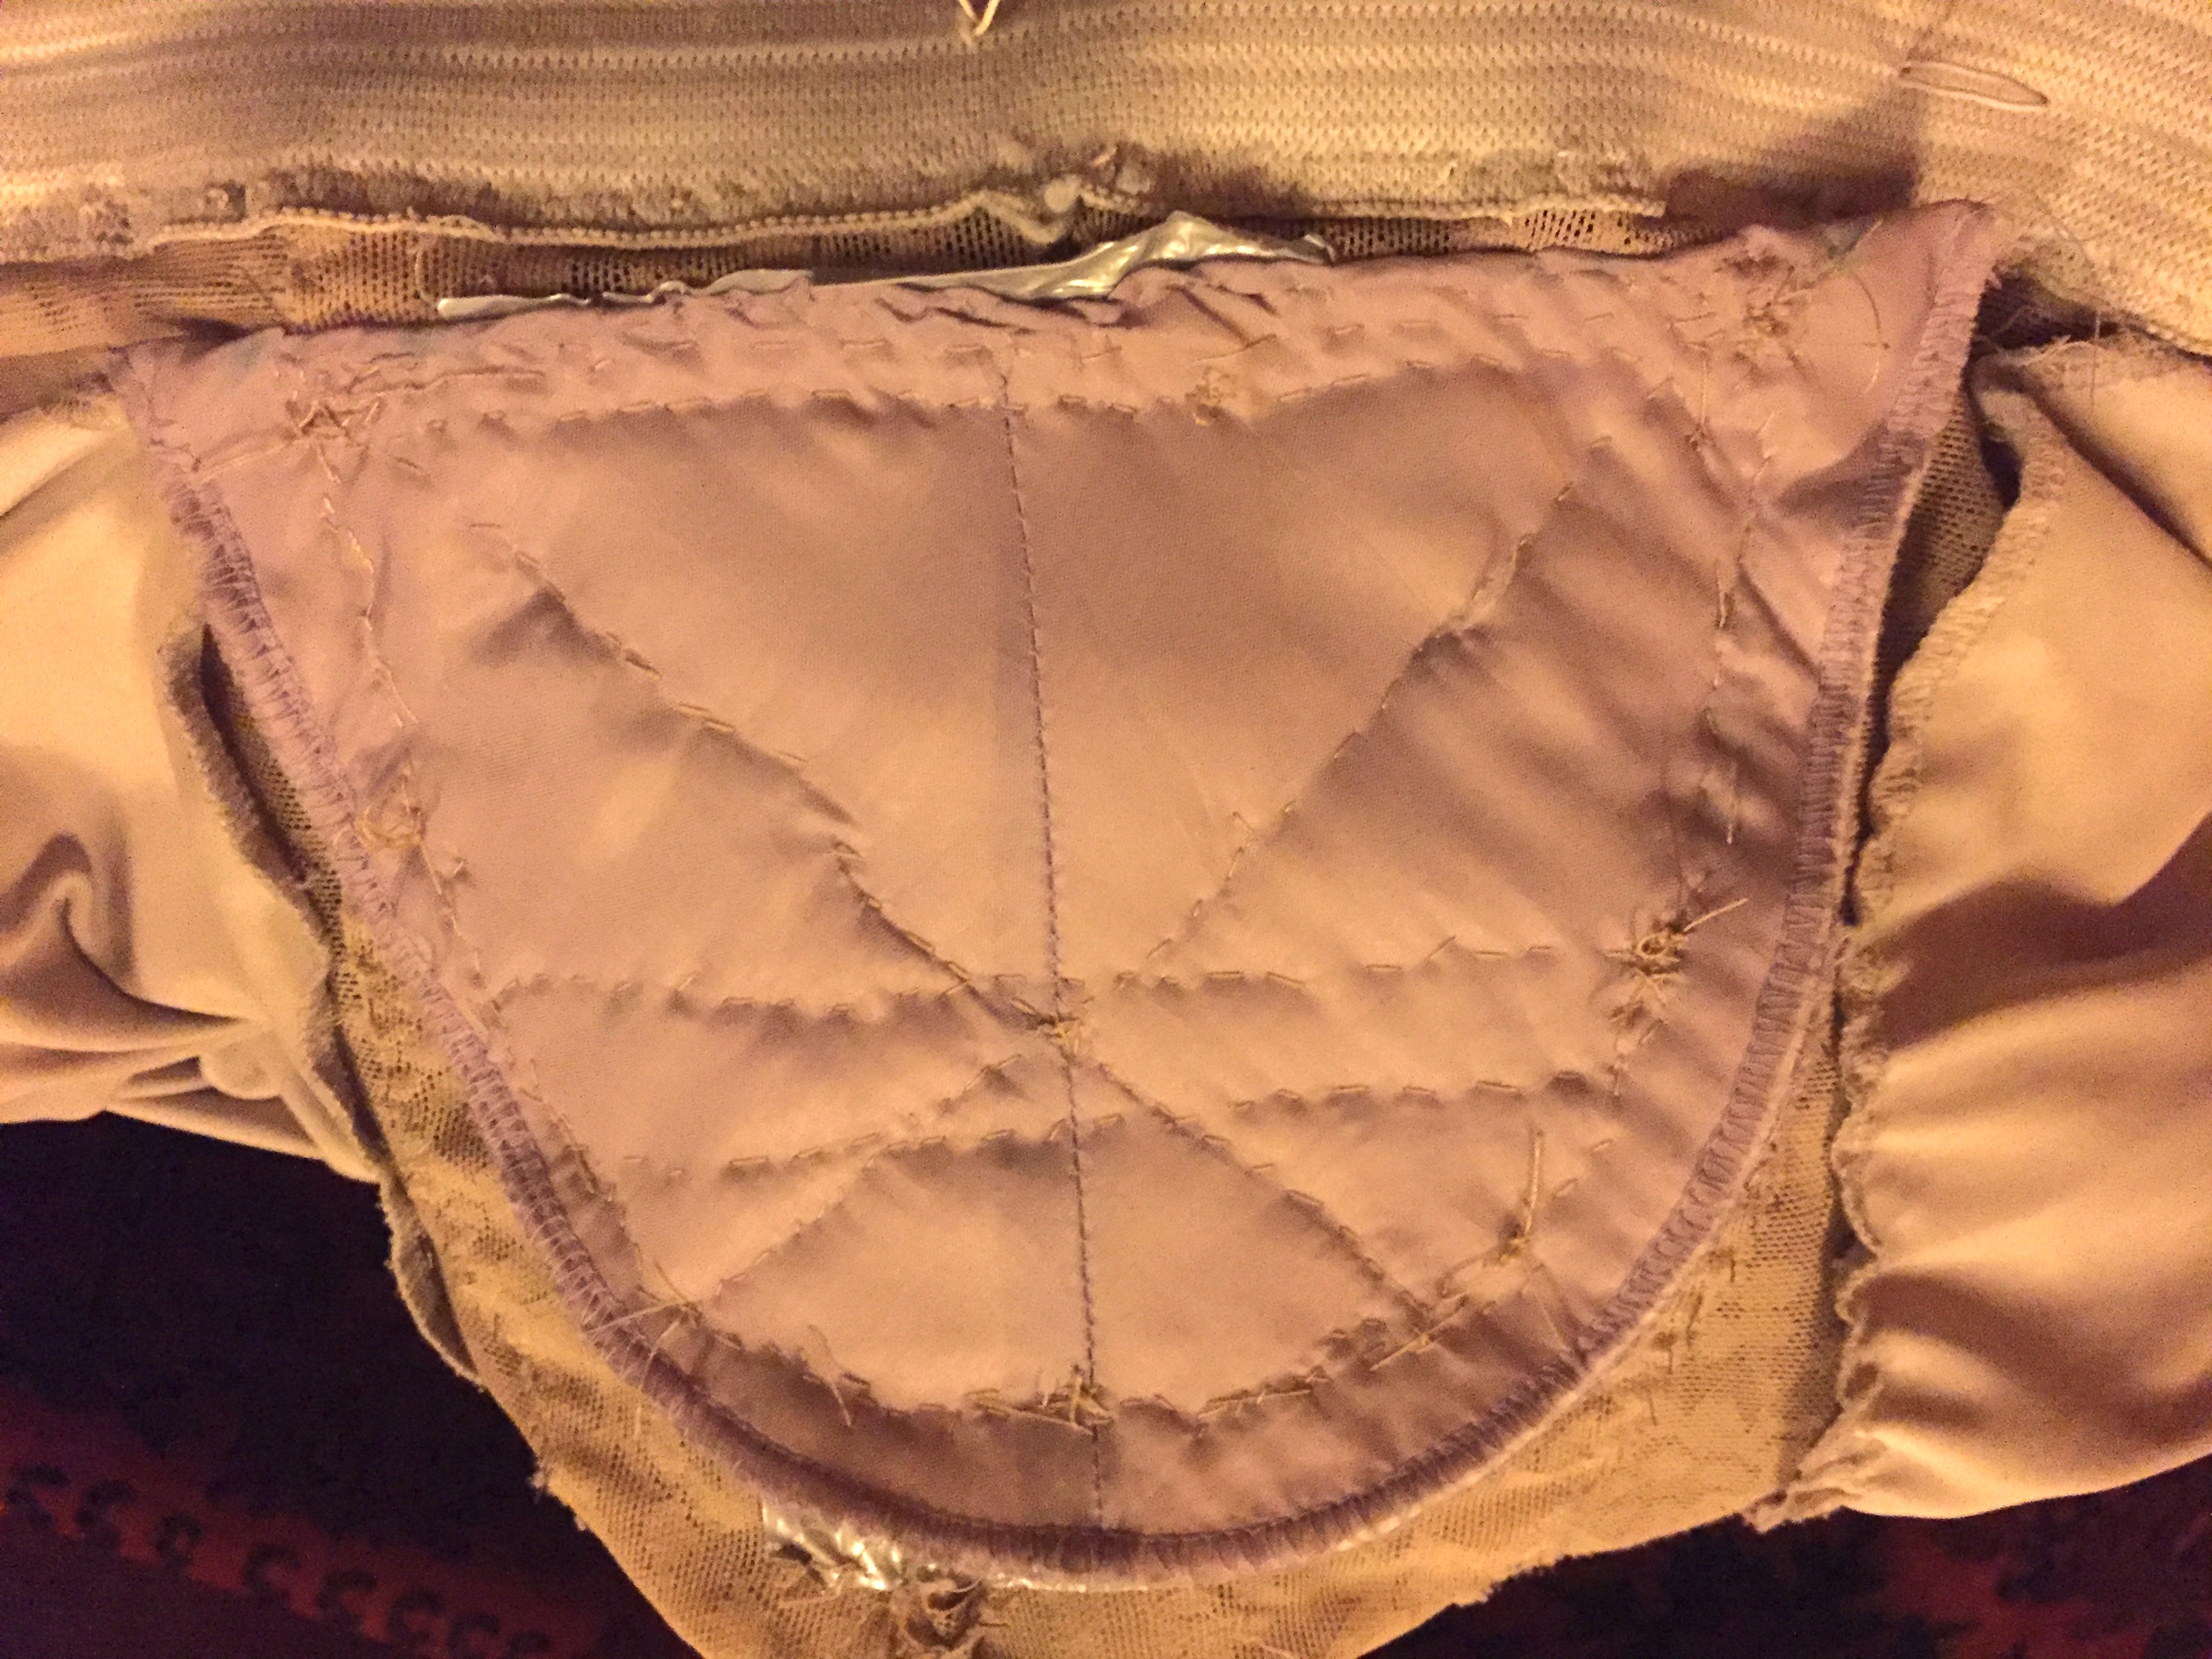
There! Hopefully this will be enough 🙂
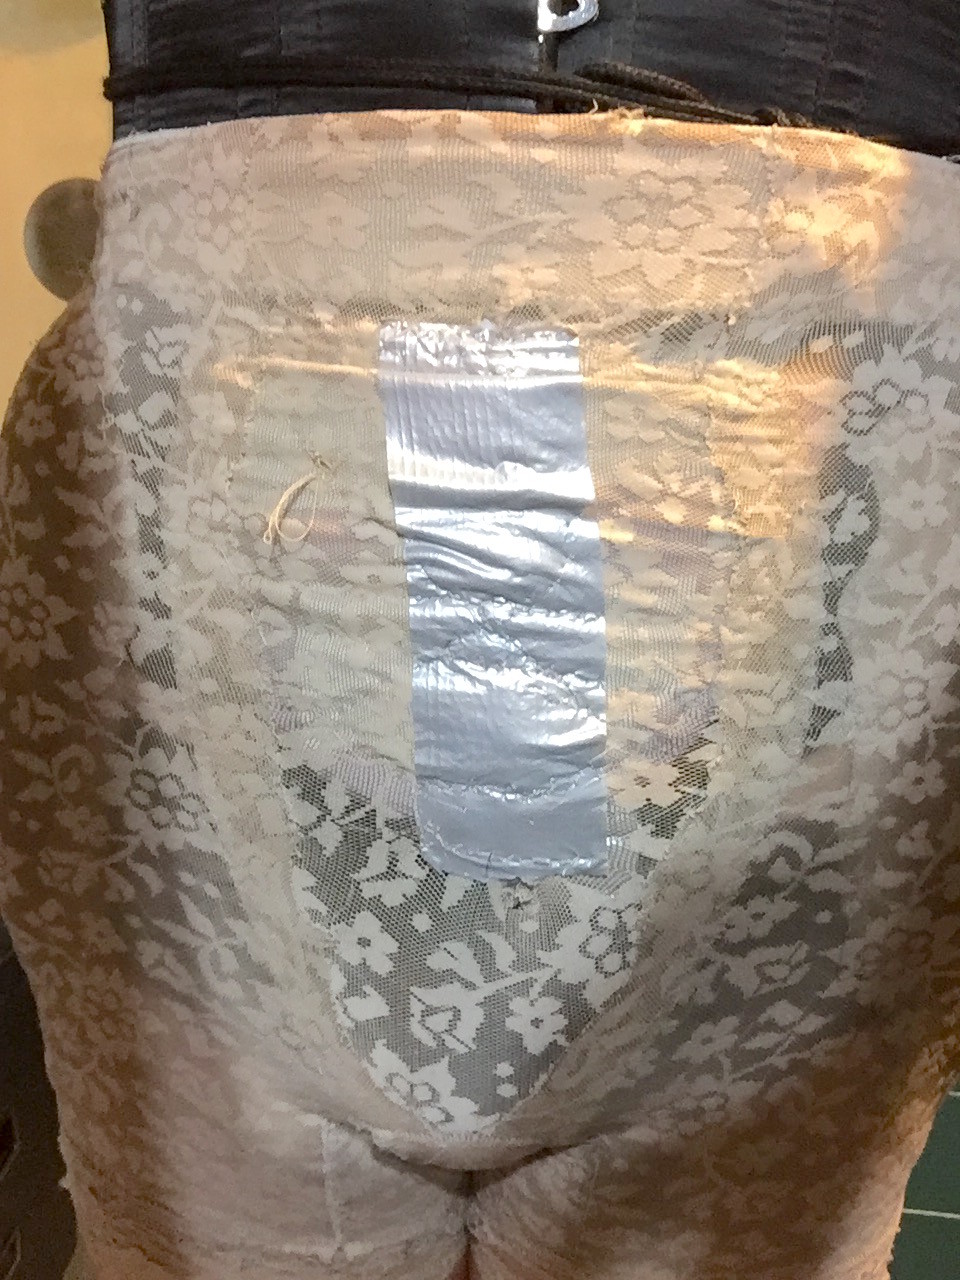
And this is how it looks on the front:
Yes, you can see that I have opted to really keep the duct tape in the front as well, and if you look closely, you can see how it is criss-crossed with stitches as well.
That was fun to do!
The trouble is that I’m really not very fast at sewing, and all this took me some four hours of hard work… gah! So I had no time to test this out in practice, but tomorrow I’ll be doing some experiments 🙂
If it completely falls apart… well, I need to talk to my pro seamstress, who will gladly do all these stitches on a sewing machine, with extra-strong line — all probably in just 10 minutes or so. And I have still got the other shoulder pad if all goes wrong!
At the end of the day, I have learned a few lessons. The Veronica 5 is truly an amazing bit of ‘garment engineering’. Everything is quite well designed — from the choice of fabric to the way the garment gets its structure and resists to amazing forces. The only flaw is that it was not meant to be used on top of an ‘unprotected’ corset, with all those metal clasps, rivets, edges, and whatnot, which will eventually puncture through the fabric. Because it is, after all, lace — even if super-strong lace! — it doesn’t take that much of an effort to rent through the fabric. I had my Veronica 2 for 9 years before I bought a replacement; the much-more-used Veronica 5 lasted 2 years (even though the pads can be reused — or could, if I hadn’t gained so much weight that I require less padding, so when I reorder, I will not go for the ‘extra curvy’ option as before 🙂 ). However, I think that if the Veronica 5 had some protection inside — or the corset some protection outside — it would last longer.
This is actually not the first ‘fix’ that the Veronica required. The gel pads, unlike the foam ones, really weight a lot. In my case, after some 18 months or so, the bags that hold the pads inside also required some stitching. Back then I had a little more money and was able to afford to get it fixed at my seamstress, who did an excellent job. So, yes, if you use these kinds of undergarments often — and I certainly do! — they require a bit of maintenance over the years.
But they’re still amazing, and I continue to recommend them 🙂
Update 2016/02/23: I’ve tried it out, and it works well! All stitches resisted after wearing the undergarment for several hours, and there is no noticeable bulge/edges from the corset, as expected 🙂 Let’s see for how long it lasts…